Now you have more control over all your beloved elements than ever. We've added options like Copy/Paste, Hide/Show element, Name Element as well as a little extra for background images and hero sections - Image position attributes.
As elements are the visual base of any website, it's good to have options when you want to customize them, so we've just added more to the list.
Copy/Paste
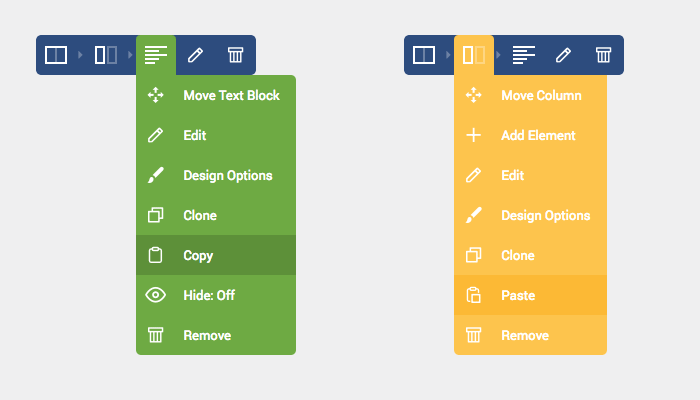
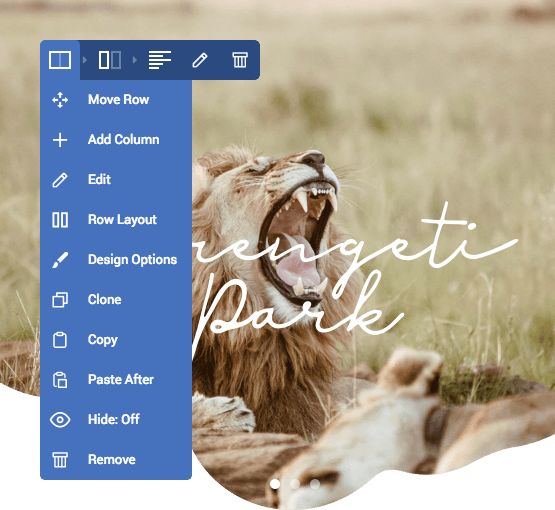
There's already the option to Clone an element, now let's finally say hello to the familiar Copy/Paste option. Now you can copy any element and paste it into any column, as easy as you are used to it on the desktop. That saves you time, as you can duplicate an already customized element and have full control over the placement as well, using controls that you already know so well.
To copy/paste an element you have to follow these quick steps:
- Hover over the element to see element controls;
- Select Copy;
- Hover over the column you want to paste the element into;
- Select Paste.

That's not all. You can also copy/paste elements right inside the Tree View. Simply hover over the element you want to copy in the Tree View → select Copy → hover over the Column you want to paste → select the Paste option.
And the cherry on top is that you can easily copy any element and paste it from page to page, and that eliminates the annoyingly long time spent creating the same element over and over again just on different pages. 🍒

Hide/Show element
Let's say you want to add testimonials to your new page, but don't have any yet. You can set up the element (as a placeholder or an element template), hide it, publish your page and show the element when you have the needed information.
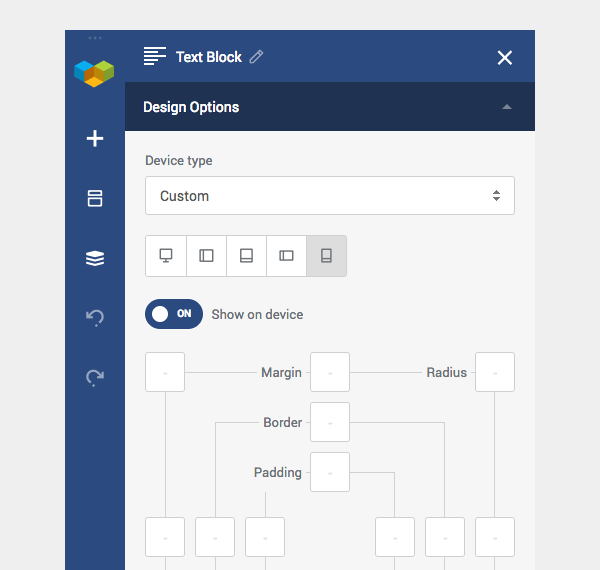
To hide an element, simply look for the Eye icon in Element controls, Tree View or the Show element toggle in element Design Options.
You can also hide elements on certain devices, for example, you have an 'Apply now' button on the desktop, so you want to hide it on mobile because on mobile you can set another button like "Call us" with the Tel attribute to instantly call.
If you have hidden an element, you probably want to know how to get it back, right? It's not gone forever, it's just chilling in the Tree View. Simply open it and enable the element back on with the Eye icon.

Name elements
We're aware that sometimes you want to create mighty complex layouts, like a skyscraper landing page. This is where naming the elements comes in handy. After all the copying and pasting, and cloning, and hiding, you have ended up with a lot of elements that have the same default name. While Frontend Editor shows the element in its full glory, if you are working with Backend editor or Tree View, you might run into some troubles with navigating through all of them.
There are 2 ways how you can change the names of your elements - through the Element Edit window and Tree View. All of them are as simple as clicking in the default element title and changing it. Oh wait, that's exactly what you have to do. Just click and edit. You can even name your element Change Me to let your colleagues know that this needs to be changed.
Image position attribute
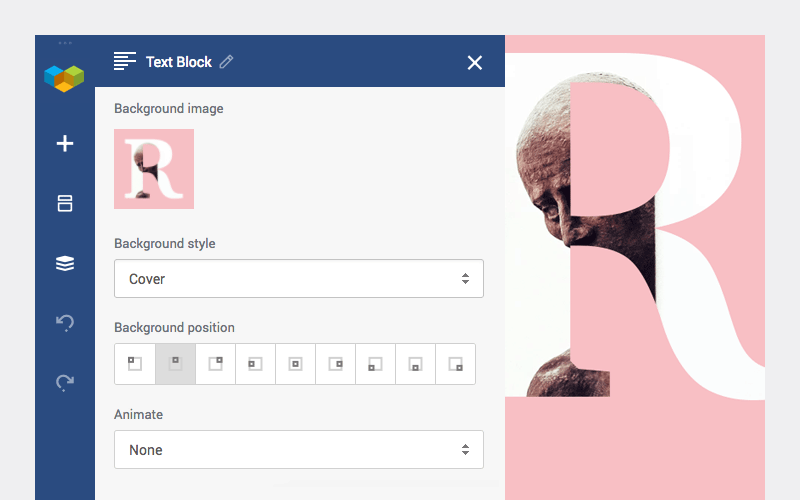
You have probably been adding images as backgrounds already, but sometimes you just want to emphasize a specific part of the image, and it turns out that the specific part is hidden due to the size of the container you added it into. We have taken care of that issue by adding the Image position attribute. It allows you to change the vertical and horizontal position of any image to show only what you want to show!There's even more you can do to get it just right. It's possible to combine the position with Background styles - for example cover, full height and no repeat. Add an Instagram-like filter to this, and you have an all new, unique image in your page.

Rebuild Your Website and Experience
We are never short of ideas on how to make the process of creating a website easier and quicker, but we would love to hear yours as well, so write in the comments below what your ideas and experiences are.
Stay tuned and start creating with Visual Composer!

Did you follow these guidelines on installation – https://help.visualcomposer.com/docs/getting-started/install-visual-composer/? Premium activation is described here – https://help.visualcomposer.com/docs/getting-started/visual-composer-premium-activation/