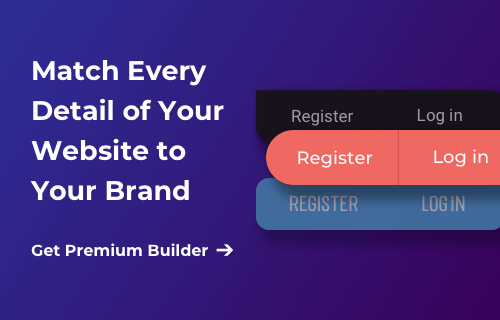
Looking to add some visual flair and consistency to your WordPress website? Button groups can be an effective way to achieve both.
By combining multiple buttons together, you can create a design element that enhances usability and aesthetics, while providing clear options for users to navigate, sort, filter, and take action.
Fortunately, with Visual Composer, adding multiple buttons in the same line in WordPress is quick and easy. In this guide, we'll show you how to do it with just a few simple steps.
Creating a Button Group in Visual Composer
This tutorial requires the premium version of Visual Composer. So, to begin, make sure you have Visual Composer installed and activated on your WordPress website.
If you are just getting started with Visual Composer, we recommend you follow our guide for articles and video tutorials to help you get familiar with creating a new page, navigating the interface, as well as adding and editing elements with Visual Composer.
First, you will need to select any page or post where you wish to place the button group. Or if you’re creating a new one, click on “Add New with Visual Composer” from your WordPress Dashboard. Once you're in the editor, follow the instructions below.
- Add the “Button Group” element. Click on “Add Content” or “Visual Composer Hub” from the left sidebar. Select “Button Group” from the list of available elements, and drag it into your row.
- Delete the extra outlined button. The “Button Group” element includes two differently styled buttons - select the filled button and delete the other for consistency.
- Clone the button. To do so, hover over the button and click on the “Clone Basic Button” until you have 2 separate buttons within the button group element.
- Adjust the text for each button. Hover the first button and click on 'Edit', and change the button text. Repeat for each button. In this case, we're changing the button text to “Sign in” and “Register”.
- Remove the gap between the buttons. Open the “Button Group” element edit window and change the button gap to 0. By default, it is 20 px.
- Add a border between the buttons. Click on 'Edit' on any button and add a 1px border (for the left side button the right border, or vice versa) in the “Design Options”. These lines will help us separate the buttons from each other visually.
- Change the border color to your desired shade. In the same place where we adjusted the border, you need to change the border color to a lighter or darker shade, than the button ifself. This will help us achieve contrast.
- Change the shape of your button group. To give our button group a round shape, we will need to click on 'Edit” for each button and add a radius for each outer corner (for the left side button, the left side radiuses, and vice versa). In our case - 50px to achieve a fully rounded shape.
- Adjust the button size. To do so, click on 'Edit' for each button and use either the sizing options (this will also affect the button text font size) or use paddings in the Design Options.
- Add functionality to your buttons. Click on 'Edit' for each button in the group, and with the help of the link selector, add a destination URL, display dynamic content, or trigger a popup - the choice is yours.
From here on out, you can customize your button groups as you wish. Change the style by adjusting the colors, borders, and size, and add animations to each button or the whole button group itself. Use the Font Manager to adjust the button fonts, no matter which theme is in use. And, once you’ve made all the necessary changes - save and publish your changes.
All Buttons Shouldn't Look The Same
To conclude, custom button groups are a simple yet effective way to add some visual flair and consistency to your WordPress website. With the premium version of Visual Composer, you can easily create custom button groups that look great, enhance usability, and provide clear options for users to take the desired action.
By following the steps outlined in this guide, you can create stunning button groups that match your brand and website design in just a few simple clicks. So why settle for standard, boring buttons when you can create button groups that stand out?
Go Premium and unlock more advanced Visual Composer features today!

