In this quick tutorial, we'll show you how to set up and add SVG masks to images using Visual Composer (and custom CSS) for your WordPress website.
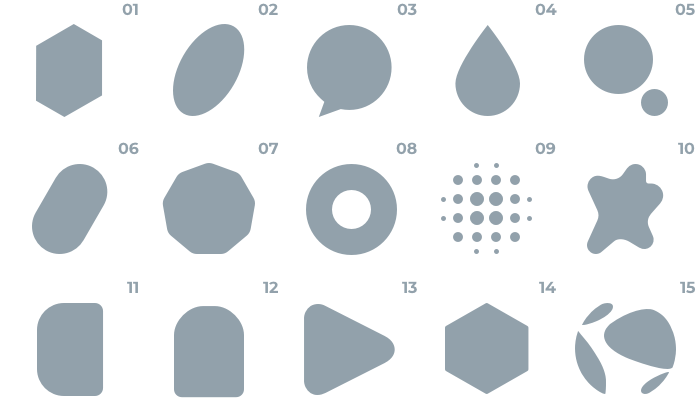
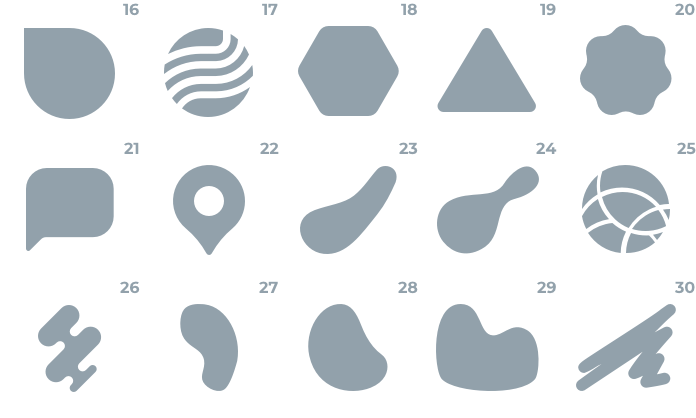
Plus, we have created a set of trendy SVG shapes you can download for free and use on your own site. Scroll down to discover.
SVG masking allows you to customize the appearance of elements by applying shapes from SVG files as masks and avoiding adjusting every single image.
Adding Custom SVG Mask To Image in Visual Composer
To give you an idea of what we'll be creating using an SVG mask from our free kit, look at the image before and after below.

Now, let's jump into the steps. First things first, you will need to install Visual Composer and create a new page, if you haven't already. You are good to go with the free version since all the needed features are there.
To Add Custom SVG Mask to Image with Visual Composer:
- Pick your SVG. Create your desired shape using any vector editing software and export it as an SVG file. Alternatively, you can use any image format that supports transparency (PNG, WebP), but we suggest using SVG, as it won't compromise the responsiveness or scalability of your mask.
- Upload your SVG file to WordPress. To add SVG support to your WordPress site, you have to enable it either manually or via a plugin such as Safe SVG. Then, upload the file to the media library and copy the path to your SVG file.
- Add a Single Image element. This is the element we'll be adding the mask to. To add it click on the “+” button in the editor, search for “Single Image” and click on it. Additionally, you can also add a background image to a row or column.
- Change the image. Now that we have our image element added, click on the “edit” button and apply your image. You can upload a new one, select any from your media library or choose from thousands of free stock images from Unsplash.
- Apply an Extra Class Name to your image. Open the “edit” window, and add an extra class name to your image under the General settings. For the purposes of this tutorial, we'll name it “mask”.
- Add custom CSS to the page. Hover to the Settings in the navigation bar and add the following code to the Custom CSS tab locally (or globally if you have plans to use it all across your site):
.mask { mask: url() no-repeat center; -webkit-mask: url() no-repeat center; mask-size: 100%; -webkit-mask-size: 100%; } - Insert the extra class name. Add the extra class name you applied to your image element in the previous steps and add it to the first line in this code. In this case - "mask".
- Insert the file URL of your SVG mask. To locate the URL, go to your WordPress media library, click on the SVG image you uploaded, and look at the attachment details. Now insert the link within the “mask: url ()” and “-webkit-mask: url()” properties and that's it!
By the way, we need the “webkit” property to ensure compatibility with web browsers that use the WebKit engine, which is primarily Safari.
SVG mask not displaying? An SVG mask might not be displayed if you're using a CDN that's blocking or restricting access to the SVG file due to security reasons. To resolve this issue, you may need to configure CDN access or store SVG elsewhere.
Additionally, you can also change the size, alignment, and repetition of your mask to create patterns, which we'll explain next.
To Resize, Change Positioning, and Create a Pattern With SVG Mask
The "size" property in CSS refers to the width and height of the mask and can affect its layout and positioning within the page. The CSS ”size” property in Visual Composer can be specified in different units and values such as:
- Pixels (px)
- Percentages (%)
- Font-relative (em)
- And root font-relative (rem)
The "center" property defines the position of the mask (but not the image) and centers it both horizontally and vertically within the element. The values for the position property can be specified using the different units and values mentioned above or using keywords such as:
- "top" / "bottom"
- "left" / "right"
The "repeat" property determines how the mask should be repeated to fill the element, and it can be set to “no-repeat”, which we did in this case, or to repeat:
- Horizontally - "repeat-x"
- And vertically - "repeat-y"
To make patterns visible, make sure you also adjust the size value smaller than the element itself.
Alternative to SVG Masking
Another way to create masks is by using clipping in CSS, but let's talk about why we prefer masking over clipping.
The CSS properties "mask" and "clip-path" can both be used to create masks with SVG, but they have differences in behavior and usage.
"Mask" makes parts of an element visible or hidden by using an image, while "clip-path" defines the shape of the visible portion of an element using SVG parameters.
Using “clipPath” also requires using the element ID instead of a class name, and pure HTML to insert the SVG vector.
Overall, "mask" is more versatile and flexible, offering greater control over transparency, gradients, sizing, and alignment of your SVGs.
So, if you just want to define the shape of an element, go for "clip-path". But if you want to want to have more control over your shape, "mask" is your guy.
Get Started With Our SVG Mask Kit
Now that you know the steps, check out all the free SVG masks you can download with our kit and see how easy it is to recreate them.
We Can't Mask Our Excitement
This simple CSS trick allows you to create unique and visually appealing designs, enhancing the overall user experience.
Don't forget to download your free SVG masks, try them in Visual Composer, and let us know what kind of CSS tricks you would like to see next.
And lastly, we want to let you in on some exciting news - We're introducing a new Element Edit Window soon, that will allow you to add custom Data Attributes and CSS to EVERY single element right from the exact element edit window!


Your step-by-step guide on incorporating custom SVG masks with CSS in Visual Composer is incredibly insightful. The inclusion of free masks is a game-changer. Thanks for simplifying a complex process!”