We do the same things in different ways. This is what makes our work unique. Everyone has their own workflow and life hacks to fasten things up and make their work more productive.
Working with Visual Composer is no exception. Even my teammates use features I don't and vice versa. And we work at the same company.
As I had my first Facebook live video, I decided to share some of the tricks I use when working with Visual Composer. The response was brilliant. Messages like “Oh, I did not know that!” made me think about sharing more tips to help you to become more productive.
In this article, I have collected 10 life hacks that I use when working with Visual Composer:
- Custom row names
- Global templates
- Column cloning
- Global and local CSS
- Right-click controls
- Template export and import
- Page to page copy
- Element presets
- Row resizer
- Append and prepend columns
After seeing how much our users love to both use and share their own Visual Composer hacks, our lovely colleague Irma created a walkthrough video showcasing just how to use each of the hacks mentioned in this article. Enjoy!
Custom row names
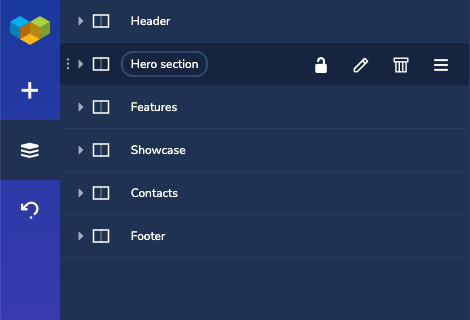
You can give custom names to your content elements, including rows and columns. To change the element name, click on the element title in the edit window or in the Tree view.
Why do you even need to rename the elements?
As your page layout becomes bigger, it can get harder and harder to navigate around. Especially, if you need to make changes after some time.
Plus, working in an agency has a high probability of someone else working on the same page. The same applies to delivering your project to the customer.
How to name your elements?
I do not name all of my elements. It feels like a waste of time.
Instead, I like to name my first-level rows and sections. I think you will agree that names like “Header”, “Hero section”, and “Features” make a lot more sense than “Row”, “Row”, “Row” when navigating around the page.
Global templates
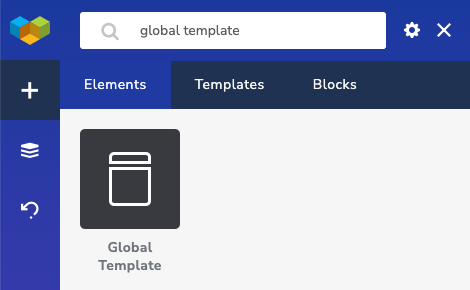
A global template is a powerful tool available to Visual Composer users. It allows you to create a template that you can manage from one place and it will automatically get updated all across your website.
As I design a page, I search for the sections that I may want to reuse later on. If the content won't change, it makes sense to convert this part into a global template.
In Visual Composer, you can save any row as a template. And this is what I often do.
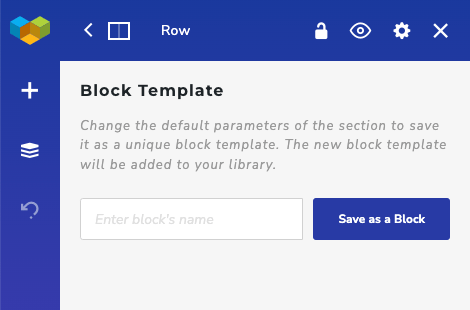
I save my reusable rows as global templates. Delete the content I have just created and replace it with the global template.
Such an approach also helps me to instantly see the template in a real layout.
Plus, I can easily add the same content on different pages and make changes to the template from one place whenever I need it.
Column cloning
Imagine you have four features you want to display in four columns next to each other. The easiest way (in my opinion) is to create a single feature and clone to result.
To illustrate the process, let's imagine that each feature consists of the icon followed by a description.
I will start my design process by adding a row with a single column. In the column, I will add my icon element and description.
To save extra time, I will style the icon element and description by applying the Design Options needed.
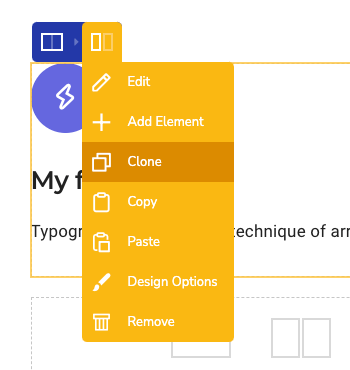
Once my boilerplate is ready, I use column controls to clone the column (in our case making three additional copies).
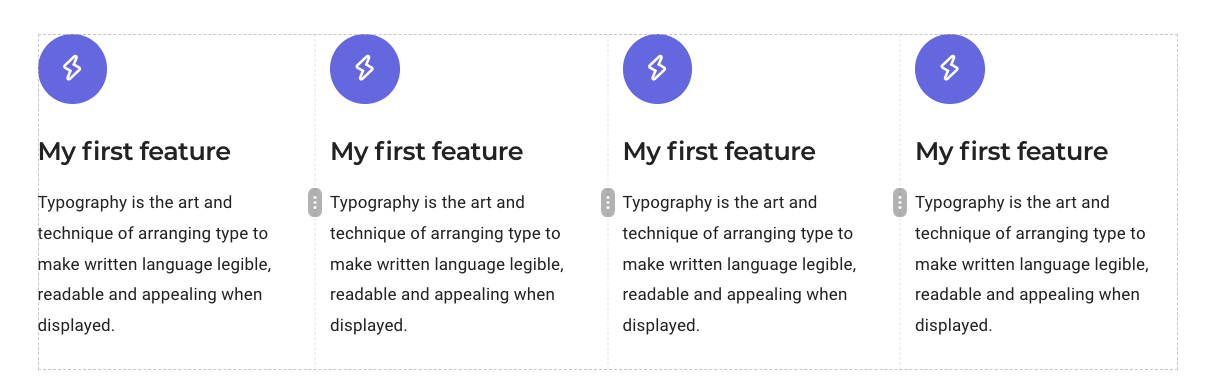
Now that I have four columns with features ready, all I need to do is change the icons and update the copy.
Global and local CSS
As a web creator, you like to adjust parts of your content with CSS even when using Visual Composer. There is nothing wrong with that.
The question is whether to use local or global CSS.
Visual Composer offers both options - apply CSS to a certain page or to the whole site.
Whenever I write custom CSS, I insert it locally (page-specific CSS).
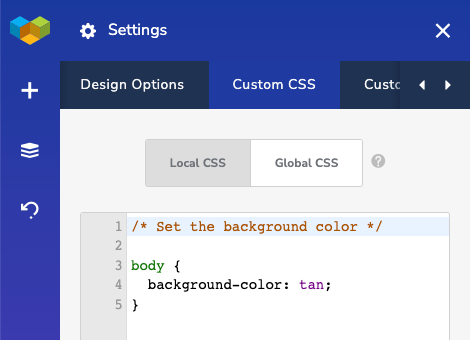
Then, I ask myself a question if I will need this CSS on another page. If the answer is yes, I move it to the global CSS.
Of course, there can be cases when CSS is needed on the majority but not all pages. In such a case, you need to decide. For me, 70% is enough coverage to go after the global CSS.
As a workaround, you can use global templates to add custom CSS.
Last, but not least, just like naming the elements makes sense, don't forget to comment and separate your CSS code. You will thank yourself later.
Oh, almost forgot, you can apply the same principles to the custom JavaScript as well.
Right-click controls
Introduced recently, right-click controls are a handy way to quickly access element options.
Due to the fact that you need to use right-click to find out about the controls, some of you may have missed it.
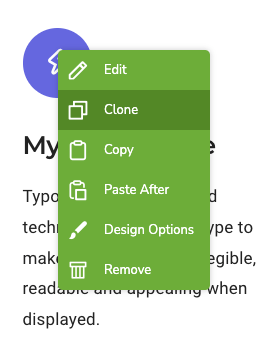
There is not much to say about it apart from “Give it a try”. I found myself saving lots of time with it.
Template export and import
Web creators love boilerplates. The good news is that Visual Composer template export allows you to have them.
There are certain layouts, elements, and maybe even media you like to use across different projects. The question is how to move those presets across your sites easily.
Visual Composer offers a template export option that allows you to move templates across different sites together with all the content elements and media files.
Yes, once you import a template to your newly created WordPress site, Visual Composer will automatically download all the elements used in the template and upload the media to your Media Library.
On my projects, I don't like to download my most used elements over and over again. Instead, I have a template that contains those elements. Once I upload the template to the site, all the elements get downloaded automatically.
Page to page copy
I think this is one of the most popular life hacks in my arsenal and I love it so much.
Did you know that you can copy Visual Composer elements from page to page (within the scope of one site)?
When working with Visual Composer, I usually have at least two browser tabs opened to quickly copy/paste the elements from already created pages to the new one.
No need to recreate the element or use global templates. A simple copy/paste will do the work.
Element presets
You can create global templates or copy elements from page to page.
Yet, there is another way (probably even better) to make sure you don't have to adjust the basic things for your elements over and over again.
Element presets allow you to save any element of Visual Composer as a preset with preconfigured styles.
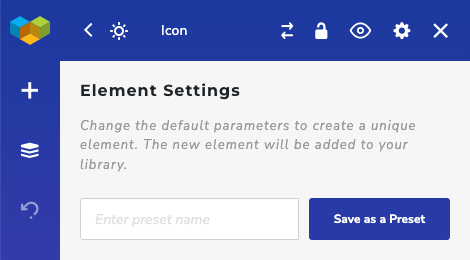
All of the element presets will appear right in your “Add Content” window and can be used just like any other element.
An additional benefit for web creators is an option to name your presets though giving your customers an idea of what elements to use when managing content on their own.
As I design sites for my friends, I often use element presets to create already branded buttons, images, and text blocks they can use out of the box.
Plus, I don't need to style the same elements over and over again.
Row resizer
Before release 44.0, you were able to adjust row sizes and width within your page or post layout, only within the row layout options.
Now there is an option to stretch and shrink rows via the brand new row resize controls.
Simply hover over the edge of a row you wish to adjust, and click on the vertical dotted control. Now, drag and drop the borders right and left to change the width of your rows to see faster results.
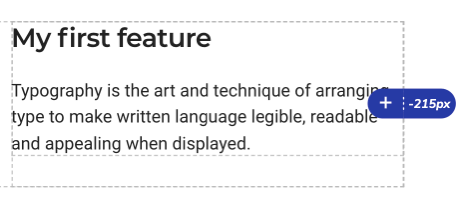
While this option allows you to change the margins of any row easily, it keeps the columns intact, adjusting them proportionally to the new row sizes.
And, you can still check and correct the values in the row layout options, same as before.
This feature truly is a cherry on top of what makes the Visual Composer editor true to WYSIWYG.
Append and prepend columns
Before the release 44.0, you were able to add extra columns to a row by selecting from the pre-set layouts or adding an extra row by typing in a new value in custom row layout options.
Now, when you hover over the edge of the first or last column of a row, you will see an additional plus icon. To add a new column simply click hover over the outline of a row, and click the plus icon.
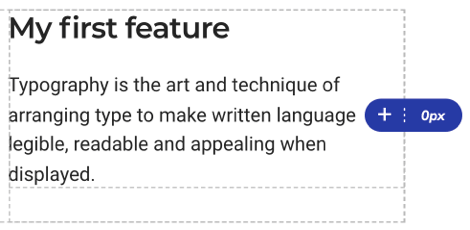
This is such a simple yet handy feature that allows you to create layouts in Visual Composer even quicker.
Outro
I have shared 10 life hacks of mine that I use when working with Visual Composer.
I hope you find them useful and applicable to your workflow. Maybe it will save your time and you will be able to create more projects or spend more time with your family.
If you are looking for ways to learn more about certain features - visit our Help Center.
Also, I encourage you to share your tips and tricks in the comments below and in our official community on Facebook.
See you online.
